 4 min read
Go live
Fill in your broadcast details and start your 24/7 loop — plus the two most common snags and exactly how to clear them.
Fill in Broadcast details
Title is required; description, privacy, category, and tags are all optional but worth setting since they carry straight through to the real YouTube broadcast. If you're not sure what to write, Enhance can suggest a title, description, and tags from what you've already typed (or your first video's file name) — see the Stream stats & Enhance guide.
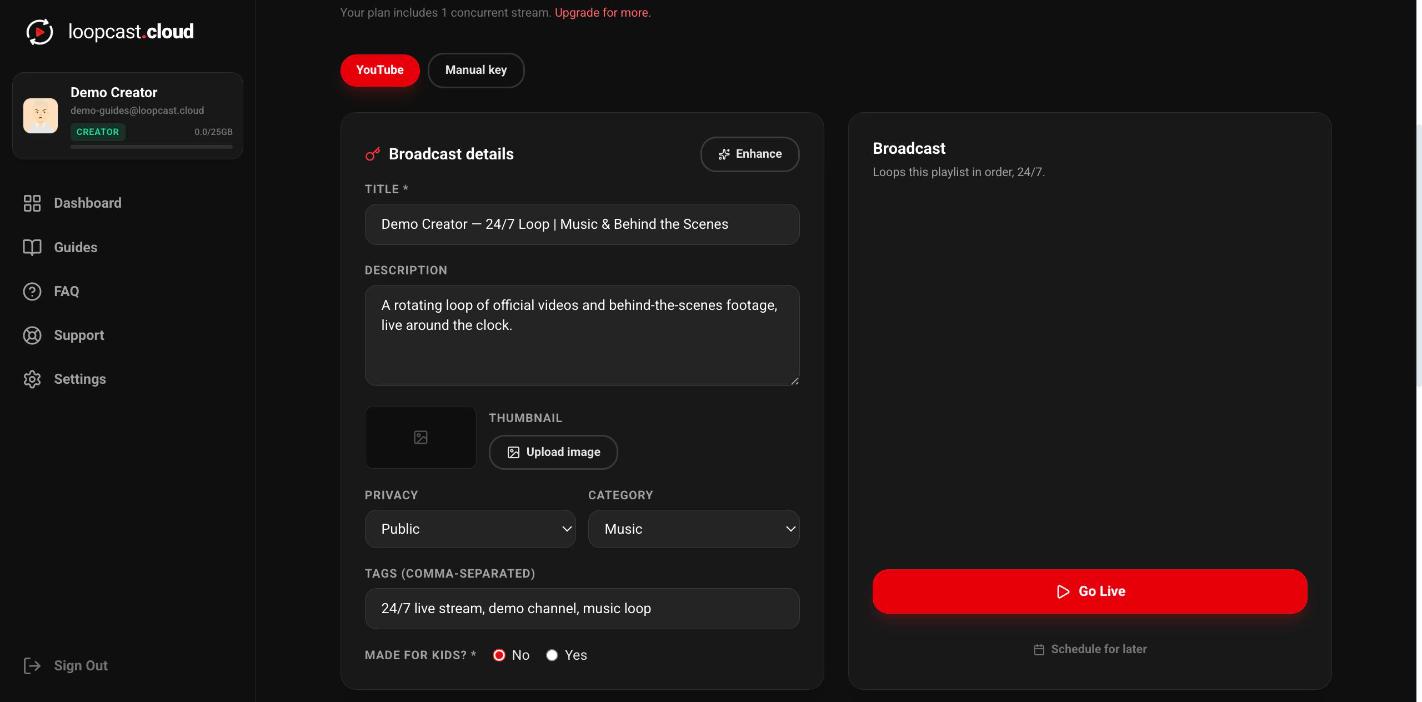
On desktop
Click Go Live
This is the one action that actually talks to YouTube: it creates a brand-new broadcast and a brand-new ingest stream from scratch every time — it never reuses or rebinds to a previous one, even if an old broadcast is still sitting around on YouTube (deleted, ended, or otherwise). You don't need to clean anything up on YouTube's side first.
Your stream's status badge shows an amber "Starting…" for a few seconds while YouTube picks up the incoming stream, then flips to Live automatically — no separate "start broadcasting" step to click on YouTube itself.
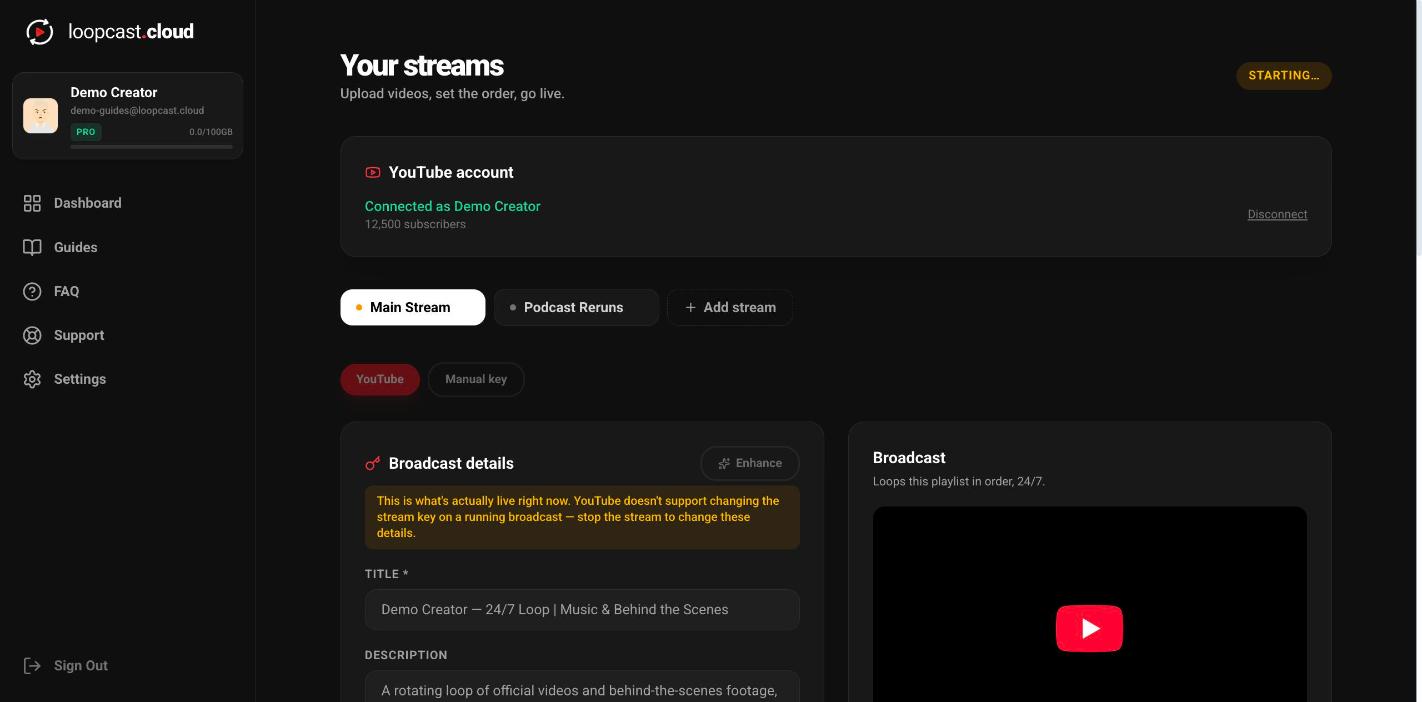
On desktop
Confirm it's actually live
Once it flips, the panel shows a red LIVE badge and a running timer, plus a direct video link you can open or copy. That's the same broadcast YouTube Studio and your channel's live page will show — worth a quick check the first few times, just to build trust in the flow.
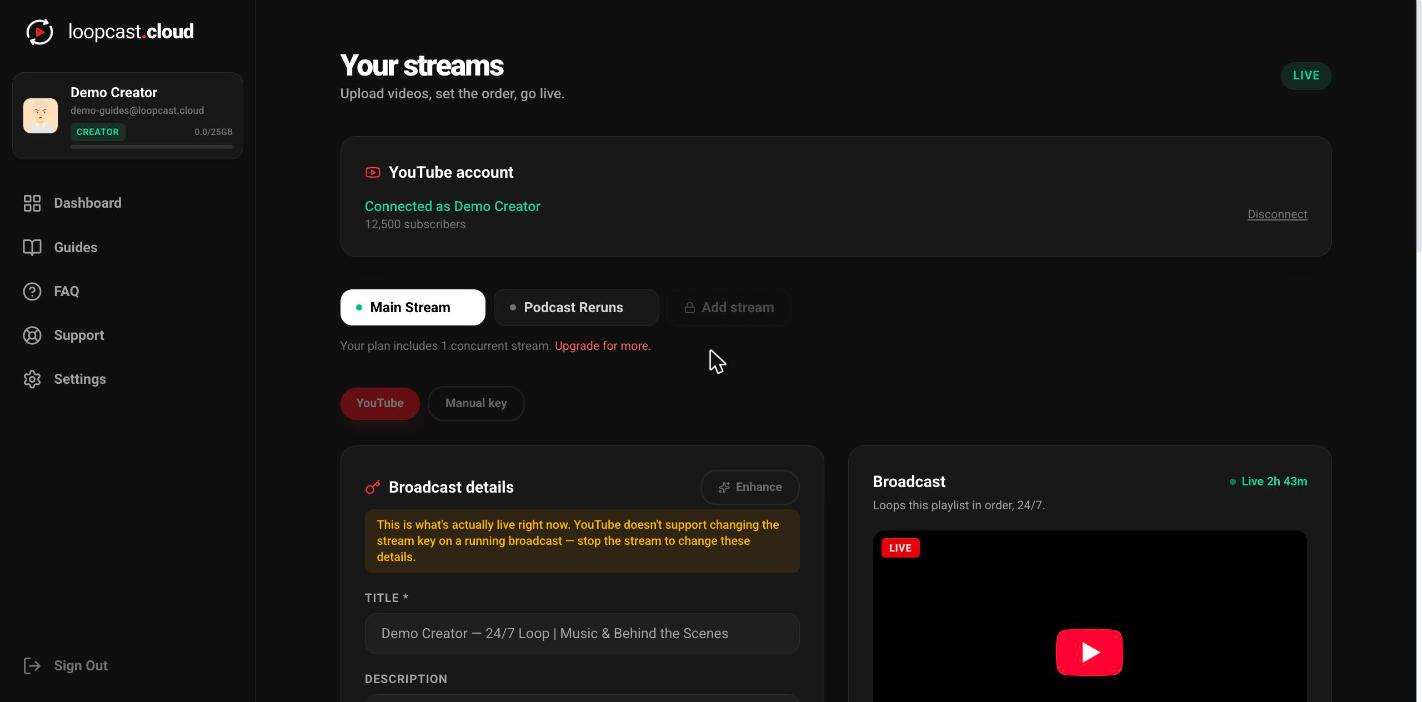
On desktop
If it says the account isn't enabled for live streaming
This is a YouTube-side restriction, not a Loopcast error — it means live streaming hasn't been verified/enabled on that channel yet, which is common on brand-new channels.
- ·Go to studio.youtube.com → Settings → Channel → Feature eligibility.
- ·Verify your phone number if it asks.
- ·Enable live streaming there.
- ·Wait — it can take up to 24 hours to activate for a channel doing this for the first time.
- ·Come back and click Go Live again once it's active.
If you deleted a broadcast directly on YouTube
Totally fine — clicking Go Live again just creates a new broadcast from scratch, completely independent of whatever you deleted. The only thing tied to the old one is a custom thumbnail set against it specifically; if you try to re-upload a thumbnail before going live again, you'll see a "video cannot be found" error. Just go live first, then set the thumbnail against the new broadcast.
Worth knowing
- ·Going live requires at least one video in that stream's playlist and an active Creator or Pro plan — Go Live is blocked without one.
- ·You can change the title, description, and most other broadcast details after going live too — YouTube just won't let you change the stream key on a broadcast that's already running.
- ·Stopping a stream doesn't delete the playlist or your videos — everything's ready to go live again whenever you want.
Trim a video